Recover
Use the Recover page to recover entire assets or individual files, to create replicas of Windows or VMware assets, and to perform instant recovery from VM or Windows image-level backups. A high-level overview of the Recover page is given below. For detailed recovery procedures, see the applicable Recovery chapter in this guide.
The Recover page contains the following tabs:
The Backup Catalog lists the appliance's backups and backup copies, and contains buttons used for recovery and other management tasks.
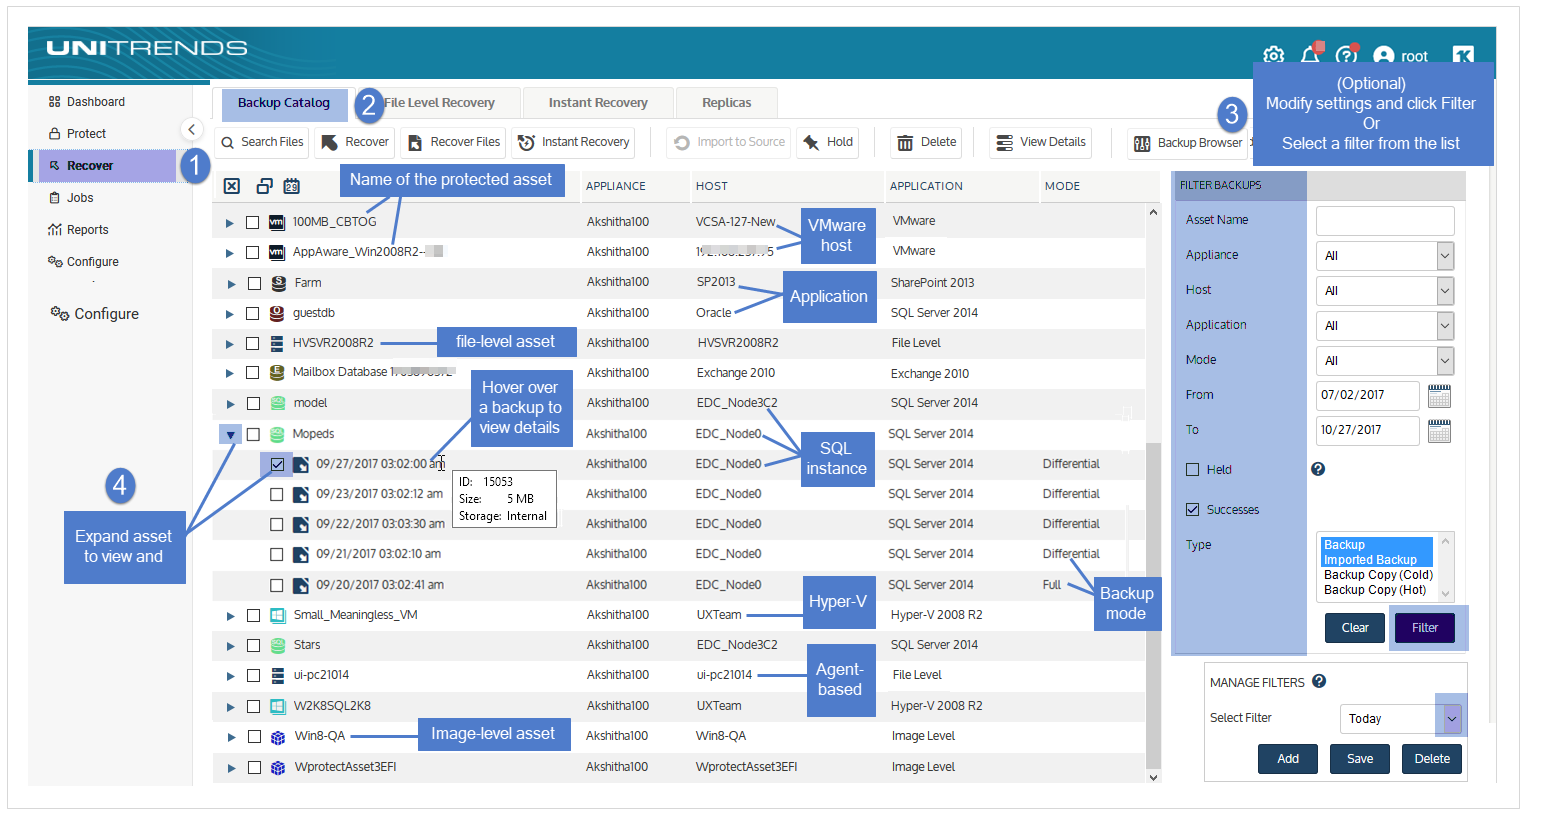
Upon accessing the Backup Catalog tab, the default filter displays associated backups and/or backup copies under each protected asset.
To change the backups and/or copies that display, you can:
| • | Modify Backup Catalog filter settings – Modify the display by entering filter criteria. Backups and backup copies display under the protected asset. Expand an asset to view its backups and backup copies. For details, see Working with custom filters. |
| • | Search for backups by using the Backup Browser – The Backup Browser provides advanced search and filter options. Backups are not grouped under the protected asset. Search for backups by selecting an appliance and date range. Filter the display by entering search text. (Backup copies and imported backups cannot be viewed in the Backup Browser. Use the Backup Catalog instead.) For details, see Working with the Backup Browser. |

Use these buttons while working with the backup or backup copy you have selected in the Backup Catalog table:
| • | Search Files – Use to search for specific files in an asset's backups or backup copies and select files to recover from the search results. Supported for file-level backups and copies only. |
| • | Recover – Use to recover an entire asset, backup, or backup copy. |
| • | Recover Files – Use to browse the contents of a backup or backup copy and select files and/or folders to recover. |
| • | Instant Recovery – Use to quickly recover a failed Windows, VMware, or Hyper-V asset. (See Virtual machine instant recovery or Instant recovery of Windows image-level backups for details.) |
| • | Import to Source – Use to import the selected hot or cold backup copy to the backup appliance. Once a copy is imported, you can recover from it as you do from any local backup. |
| • | Hold – Use to place the selected backups on hold. Backups on hold cannot be removed from the appliance. To remove the hold, select the held backup and click Unhold. |
| • | Delete – Use to delete the selected backups from the appliance. |
| • | View Details – Use to view details of the selected backups and/or backup copies. (See To view details from the Backup Catalog tab for details.) |
| • | Backup Browser – Use to launch the Backup Browser, which enables advanced search and filter options. For details, see Working with the Backup Browser. |
| • | Hide Filter – Use to hide the Filter Backups area. |
| • | Refresh catalog – Use to refresh the contents of the Backup Catalog tab. |
| • | Clear all selections – Use to clear all selections on the Backup Catalog tab. |
| • | View by protected asset – Use to view backups and/or copies by protected asset. |
| • | View by date – Use to view backups and/or copies by date. |
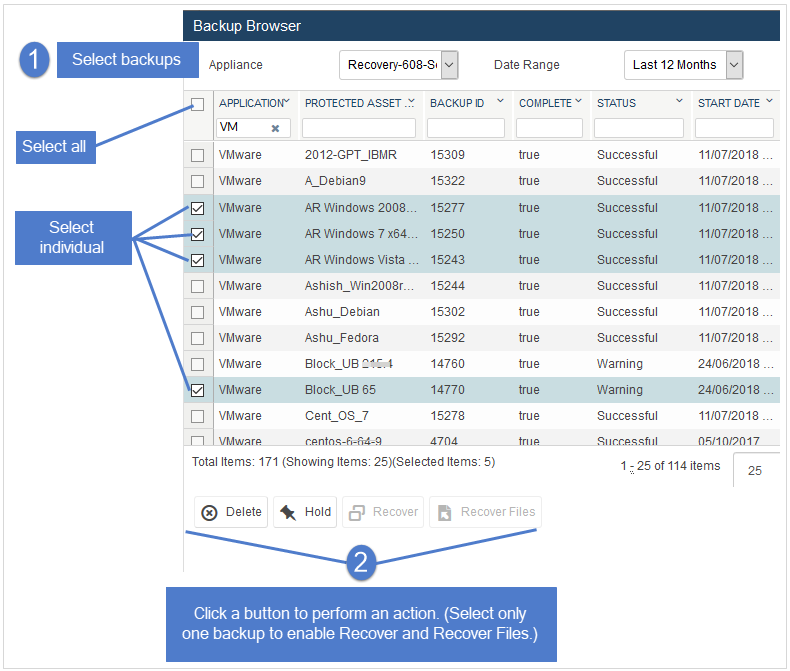
The Backup Browser provides appliance-level search capability, advanced search options, and faster filtering performance. With the Backup Browser you can quickly search for, filter, and sort the backups stored on the appliance. You can then delete, hold, unhold, and recover backups right from the search results.
The Backup Catalog enables you to browse by asset only. Once you filter the Backup Catalog display, you must manually expand each asset to view its backups. This approach works well for asset-level searches, but can be cumbersome in some cases. For example, use the Backup Browser for these appliance-level searches:
| • | Search for and delete all failed backups. |
| • | Search for all backups that have been placed on hold. |
| • | Search for backups by application type. |
| • | Search for all backups of assets with test in their names. |
See these procedures for details on using the Backup Browser:
| • | To search for backups in the Backup Browser |
| • | To delete backups by using the Backup Browser |
| • | To place backups on hold by using the Backup Browser |
| • | To unhold backups by using the Backup Browser |
| 1 | Log in to the backup appliance. |
| 2 | Select Recover > Backup Catalog and click Backup Browser. |
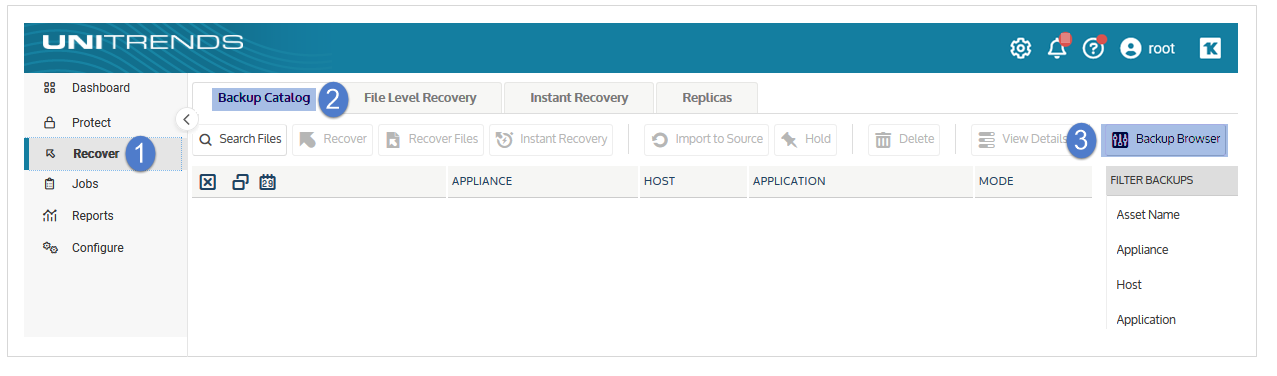
| 3 | Select the Appliance and Date Range of backups to search. Backups that ran during the date range display: |
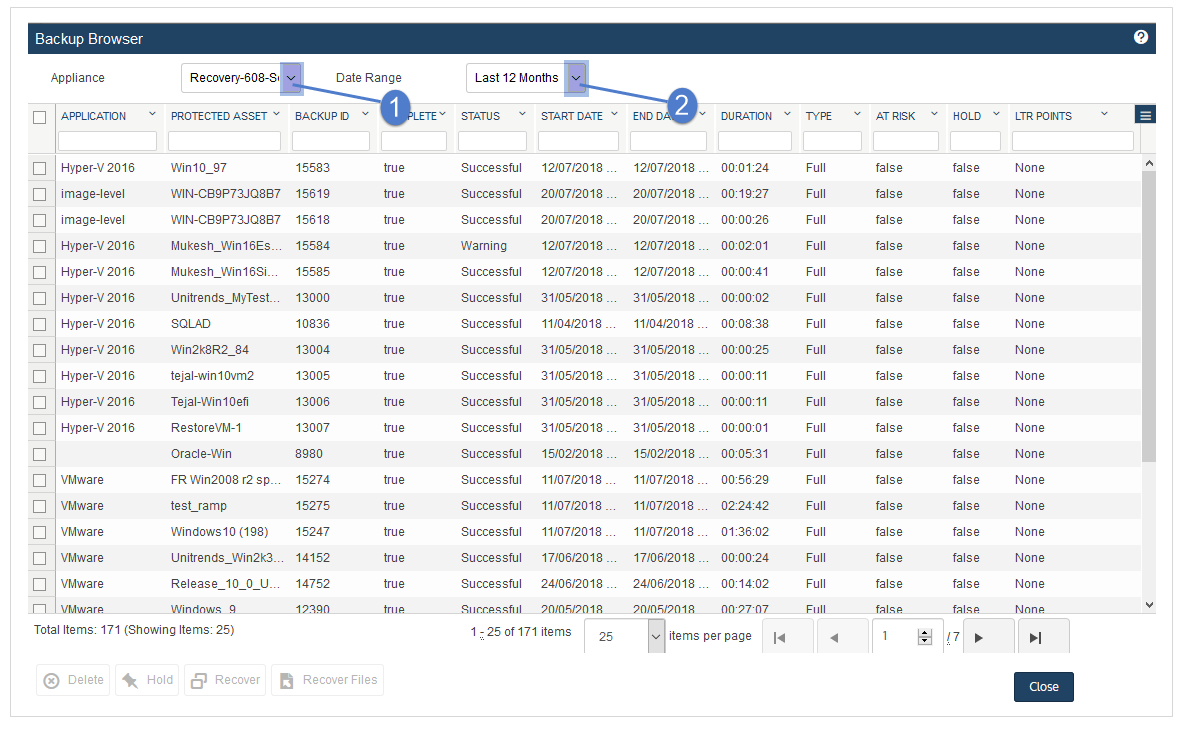
| 4 | Refine the search: |
| • | Enter text in any column field to filter the display. |
| • | Click an arrow to sort by column. |
| • | Click the accordion icon to add or remove columns from the display. (Not all columns display by default.) |
| • | For a description of each column, see Backup Browser column descriptions. |
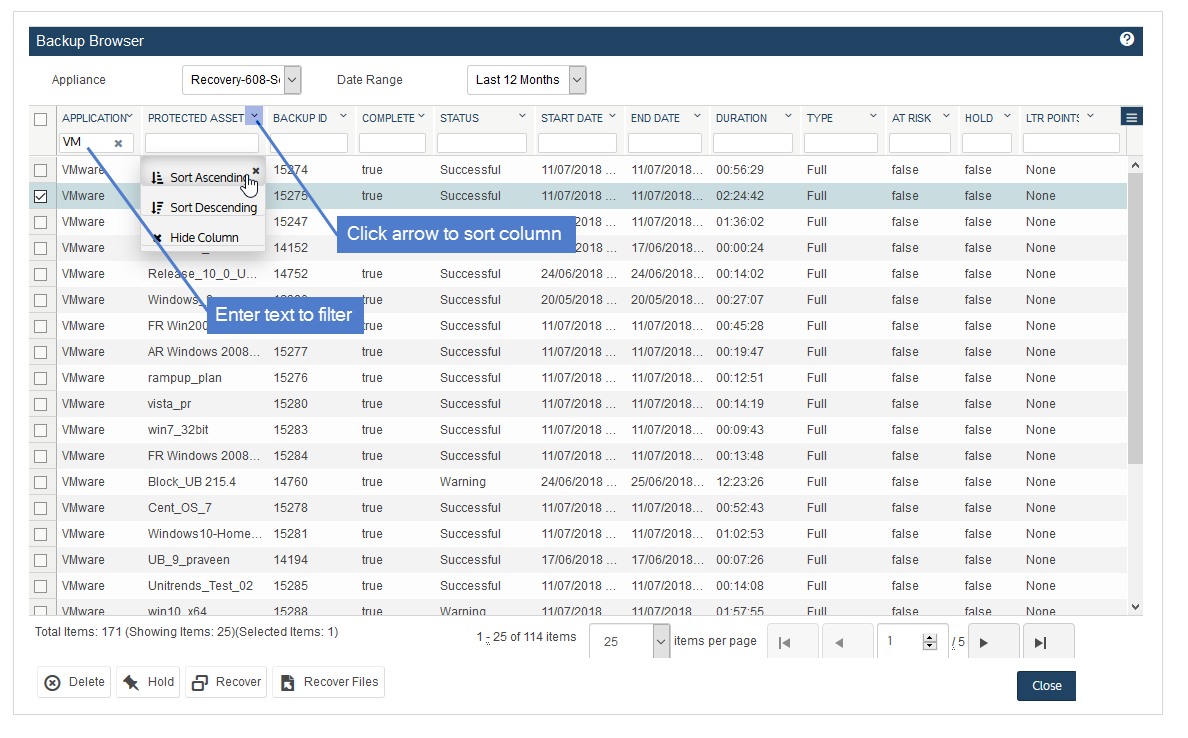
Select backups and click a button below to delete, hold, unhold, or recover.
Descriptions of each Backup Browser column are given here:
| Column | Description | |||||||||
|---|---|---|---|---|---|---|---|---|---|---|
|
System ID |
The system-generated appliance ID. |
|||||||||
|
Application |
Application type:
|
|||||||||
|
Protected Asset |
Name of the asset. |
|||||||||
|
VM |
Name of the virtual machine. |
|||||||||
|
Database |
Name of the protected database or storage group. |
|||||||||
|
Instance Name |
For application backups, contains the database instance name. For host-level backups, contains one of the following:
|
|||||||||
|
Backup ID |
The system-generated job ID. |
|||||||||
|
Complete |
Indicates whether the job completed: True (yes) or False (no). |
|||||||||
|
Status |
Status of the backup job: Success, Warning, or Failure. |
|||||||||
|
Start Date |
The date and time at which the backup job started. |
|||||||||
|
End Date |
The date and time at which the backup job completed. |
|||||||||
|
Duration |
The amount of time it took for the job to complete, in hh:mm:ss format. |
|||||||||
|
Type |
Backup mode: Full, Incremental, Differential, Synthetic Full, Selective, Bare Metal, or Transaction (SQL only). |
|||||||||
|
At Risk |
Indicates if a potential ransomware infection was discovered: True (potentially infected) or False (not infected). |
|||||||||
|
Hold |
Indicates whether the backup has been placed on hold: True (yes) or False (no). |
|||||||||
|
Encrypted |
Indicates whether the backup is encrypted: True (yes) or False (no). |
|||||||||
|
LTR Points |
Indicates whether the backup is needed for adherence to a long-term retention (LTR) policy: None (no), Daily, Weekly, Monthly, or Yearly. |
|||||||||
|
Storage |
Storage device where the backup resides. (Default appliance storage device is Internal.) |
|||||||||
|
Appliance |
Name of the backup appliance. |
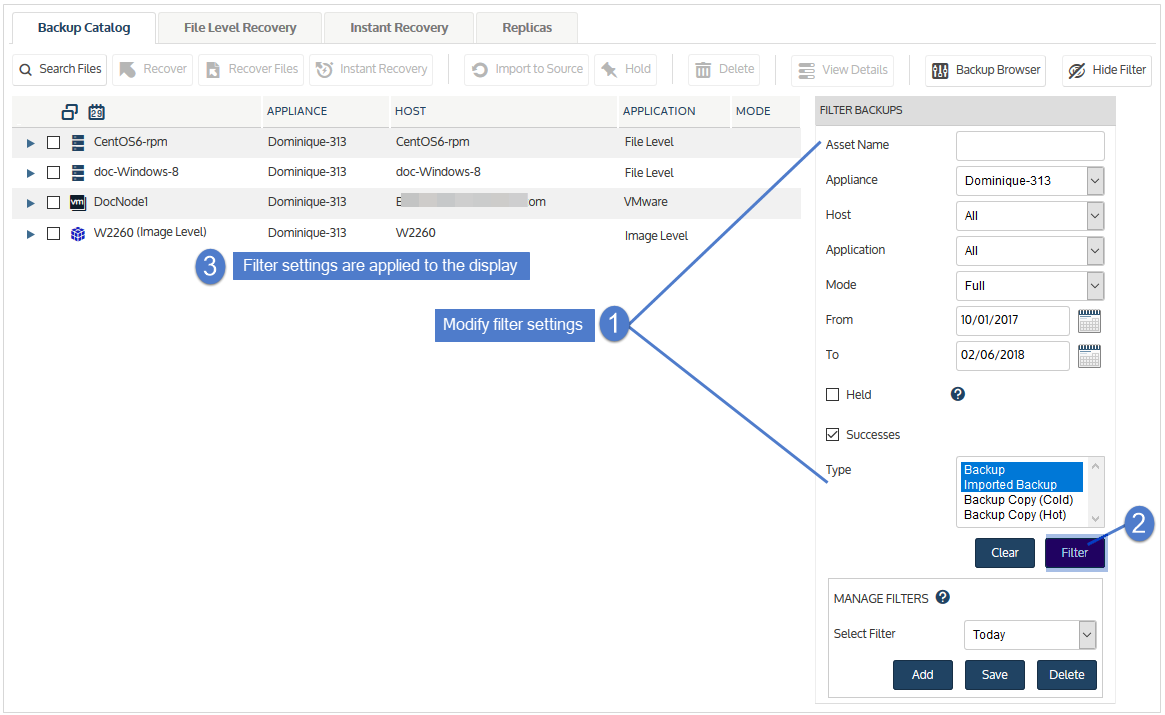
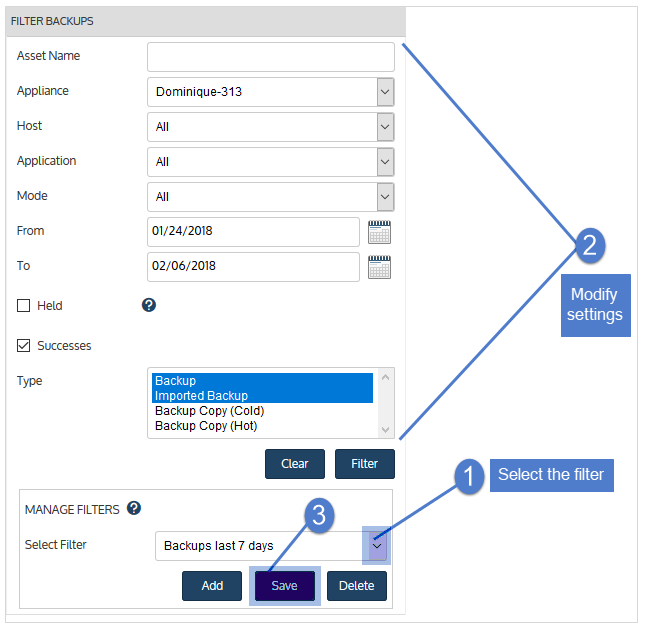
Upon accessing the Backup Catalog tab, the default filter displays associated backups and/or backup copies. To change the backups and copies that display, you can modify settings manually or apply a custom filter. See these topics for details:
| 1 | Modify the values in the Filter Backups fields. |
| 2 | Click Filter to apply the new settings. |
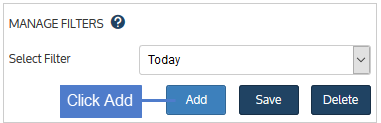
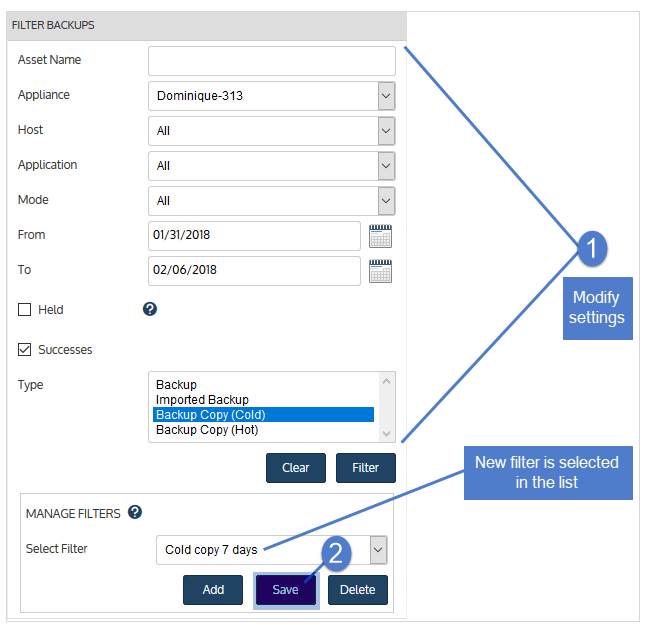
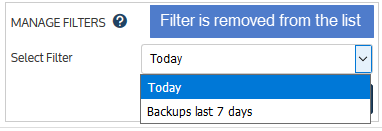
| 1 | In the Manage Filters area, click Add. |
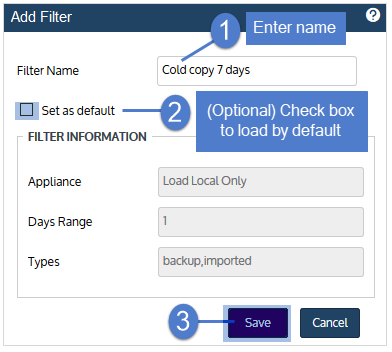
| 2 | Enter the following: |
| • | A unique name. |
| • | (Optional) Check Set as default to automatically load this filter. |
| 3 | Click Save. |
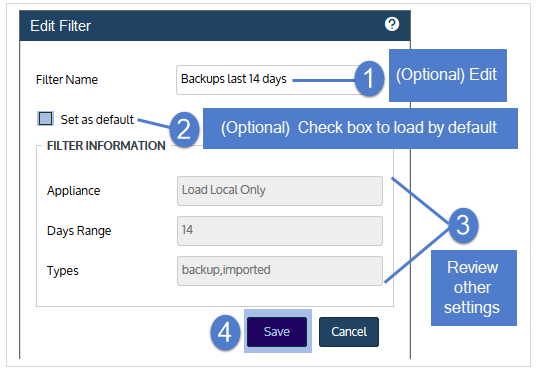
| 4 | The new filter is selected in the Select Filter list. Modify settings in the filter fields as needed, then click Save. |
| 5 | Review settings and click Save to exit. |

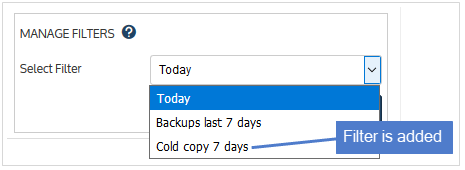
Apply a custom filter by selecting it in the Select Filter list.

Upon accessing the Backup Catalog tab, the default filter is automatically applied, and backups and/or backup copies that meet the filter criteria display. The appliance's default filter displays today's backups and imported backup copies. To assign a different default filter, do one of the following:
| • | Add a new custom filter. In the Add Filter dialog, check the Set as default box. For details, see To add a filter. |
| • | Make an existing filter the new default by using these steps: |
Note: If you have already assigned a default filter and want to change your selection, simply check the Set as default box while creating a new filter or modifying an existing filter. This clears the Set as default checkbox of the previous default filter.
| 1 | Select the filter and click Save. |
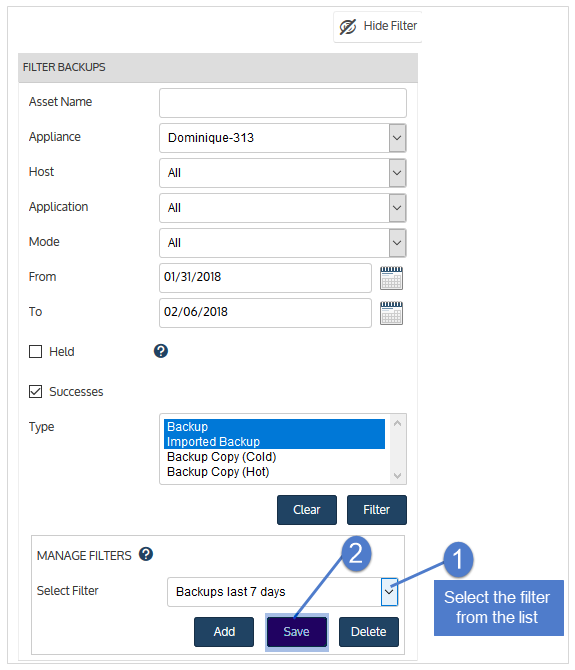
| 2 | Check the Set as default box, then click Save. |
| 1 | Select the filter. |
| 2 | Modify settings in the filter fields as needed, then click Save. |
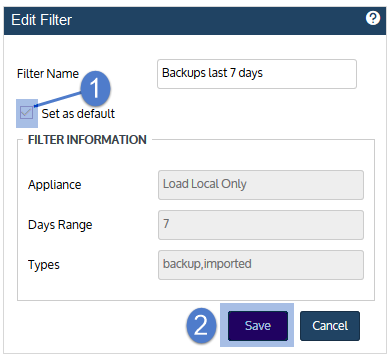
| 3 | Review settings, modify name (optional), check Set as default box (optional), then click Save. |
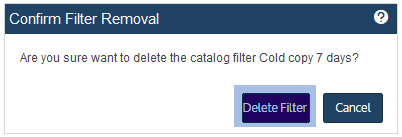
| 1 | Select the filter, then click Delete. |
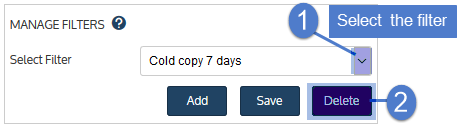
| 2 | Click Delete Filter to confirm. |
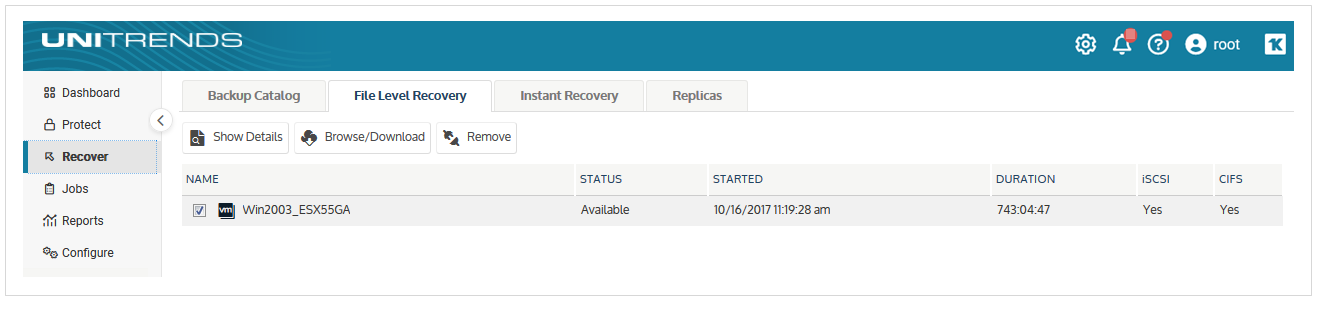
Recovery objects are created to recover files from VM host-level backups. This tab enables you to view and remove these objects. For detailed procedures, see Recovering files from virtual machine backups.
Use these buttons while working with objects on the File Level Recovery tab:
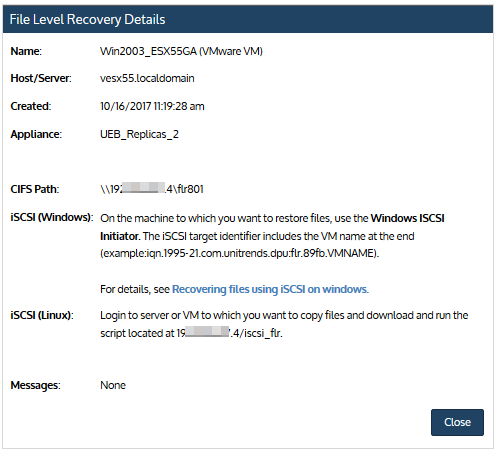
| • | Show Details – Displays the File Level Recovery Details dialog for the selected object. Details include: VM name, virtual host name, date/time the object was created, Unitrends appliance name, CIFS path to the recovery object (if applicable), iSCSI targets for recovery object (if applicable), and messages. Example: |
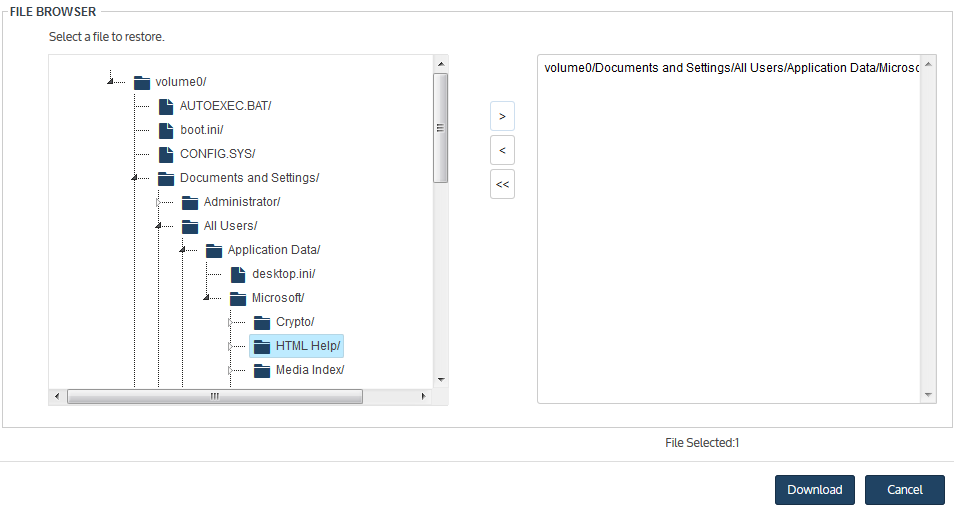
| • | Browse/Download – Opens a File Browser for the selected object, where you can select files and/or folders to recover. Example: |
| • | Remove – Removes the selected file level recovery object. |

Instant recovery enables you to recover a failed or corrupted VM in minutes. To make these recovered VMs available in production very quickly, instant recovery objects run on the Unitrends appliance while data is being migrated to the recovered VM on the target virtual host. For more on instant recovery, see Virtual machine instant recovery.
Once you have set up a VM for instant recovery, its instant recovery object displays on the Instant Recovery tab. Use these buttons while working with instant recovery objects on this tab:
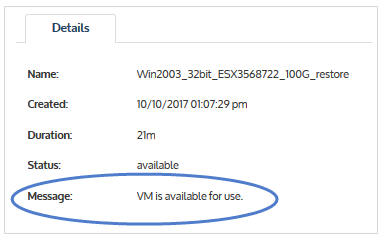
| • | Show Details – Displays the Details tab for the selected object. Details include: |
| – | Name – Name of the recovered VM. |
| – | Created – Date and time at which the object was created. |
| – | Duration – Elapsed number of days, hours, and minutes since the object was created. |
| – | Status – Status of the object. |
| – | Message – Description of the current status or most recent operation related to the object. |
| • | Tear Down – Deletes the selected instant recovery object. |
Replicas provide a quick way to recover VMware virtual machines and Windows physical assets. To use this feature, simply set up the replica by using the Create Replica VMs or Create Windows Replica dialog. The appliance then creates a virtual machine replica from the most recent backup of the original asset, and automatically applies all subsequent backups. Because the replica is continually updated, you can bring it online to immediately assume the role of original machine. For more on replicas, see VM replicas and Windows file-level replicas.
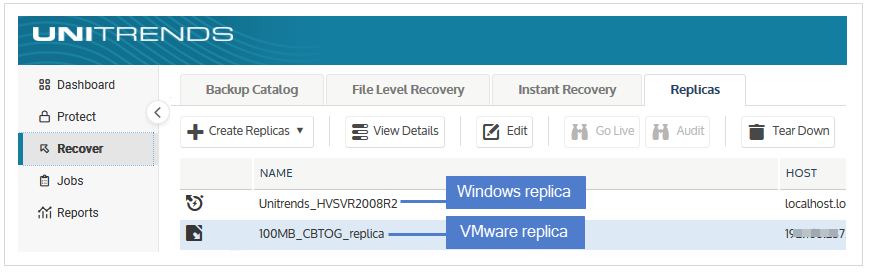
VM replicas and Windows replicas display on the Replicas tab. Use these buttons while working with replicas on this tab:
| • | Create Replicas – Click to create Windows and VMware replicas. |
| • | View Details - Displays the Details tab for the selected replica. |
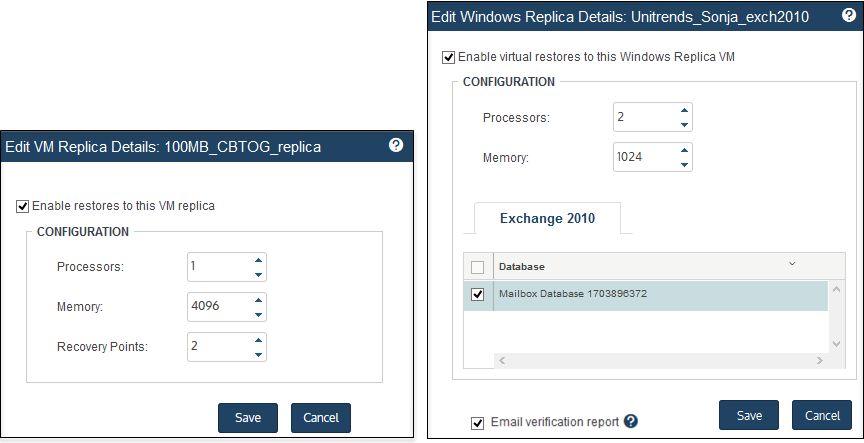
| • | Edit - Displays the Edit Replica Details dialog for the selected replica. |
| • | Go Live - Boots the selected replica into live mode. (Use only if the original asset has failed and is no longer online in production.) |
| • | Audit/End Audit- Click Audit to boot the selected replica into audit mode. Click End Audit to exit audit mode. |
| • | Tear Down - Removes the selected replica from the appliance and, optionally, from the virtual host. |