Installing the Windows agent
To protect a Windows asset, you must install a lightweight agent on the Windows machine. This Windows agent is required to run file-level, image-level, and application backups. Depending on the asset's operating system and configuration, the agent can be push-installed by the appliance or installed manually. Push install is recommended to reduce setup time. Once a Windows asset is set up for push install, agent updates can also be pushed, reducing maintenance time.
To install the Windows agent, start by reviewing the Windows agent requirements, then install the agent as described in Push-installing the Windows agent or Manually installing the Windows agent.
NOTE If you have trouble installing the agent, look at the application messages in the Windows event viewer to address the error. For details, see this KB article: Troubleshooting Windows event IDs.
The following requirements must be met before installing the Windows agent:
● The Unitrends appliance(s) protecting the Windows asset must be running an equal or higher version than the agent that will be installed. Beginning in release 10.8.1, the agent installer enforces version compatibility by raising an error if the appliance version is older than the agent.
● Windows administrative privileges for the user installing the agent.
● Approximately 1100 MB of free space on the Windows system drive, usually volume C:.
● Single Instance Storage (SIS) on Windows Storage Server 2008 is not supported and must be disabled for the agent to properly perform backups.
● The Windows Volume Shadow Copy Service (VSS) framework must be installed.
● To protect Exchange, SQL Server, or Hyper-V, the following VSS writers are required:
● VSS Exchange Writer is required for the Exchange agent.
● VSS SQL Writer is required for the SQL Server agent.
● VSS Hyper-V Writer is required for the Hyper-V agent.
● Agent operations use ports 1743, 1745, and 888. Ensure that these ports are not in use on the Windows asset.
NOTE Unitrends does not officially support backup through firewalls. For details, see this KB article: Backup fails through Router, DMZ, or Firewall.
● Secure agent pairing requirements – Beginning in release 10.6.6, a secure pairing is automatically established between the appliance and the Windows agent on each of its protected assets. This pairing enables Transport Layer Security (TLS) to encrypt data and authenticate connections between appliances and agents. Communication between appliances and agents is only allowed if there is a matching (paired) certificate. These secure pairing requirements must be met to protect Windows assets with agent release 10.6.6 or higher:
● The Unitrends appliance must be running release 10.6.6 or higher.
● The Windows asset must be running agent release 10.6.6 or higher.
● The Unitrends appliance version must be equal to or higher than the Windows agent version.
IMPORTANT Be sure to upgrade your Unitrends appliance before upgrading your Windows agents.
● Jobs will fail if you attempt to protect a 10.6.6 or higher agent with an appliance that is running an older release.
● You cannot add an asset that is running a 10.6.6 or higher agent to an appliance that is running an older release. If you attempt this, you receive an error similar to: Failed to save client: Registration for client assetName failed. The Unitrends System could not connect to the Unitrends Agent on assetName. Please ensure that the Agent software is installed on assetName, the Agent service is running (if applicable), and no firewall settings are preventing access.
● If upgrading from a pre-10.6.9 agent release, backups may fail until the pairing completes successfully (this can take up to two hours).
● To protect Hyper-V clusters, SQL clusters, or file server clusters with the secure agent pairing feature:
● The cluster must be running agent version 10.6.9 or higher.
● The Unitrends appliance and cluster must be running in the same time zone.
● The secure agent pairing feature is not used to protect Windows XP, 2003, and Vista. To protect a Windows XP, 2003, or Vista asset, install agent version 10.6.7. The 10.6.7 agent detects the asset's OS version and disables secure agent pairing.
See Secure agent pairing for Windows and Linux agents for details on working with this feature.
In addition to the general Windows agent requirements, the following prerequisites must be met to push-install the Windows agent:
|
Item |
Description |
|---|---|
|
Windows versions supported |
These Windows versions are supported: ● Windows Server – 64-bit Windows 2008 R2 and later versions listed in the Compatibility and Interoperability Matrix are supported. (32-bit versions are not supported.) ● Windows Workstation – 64-bit Windows 7 and later versions listed in the Compatibility and Interoperability Matrix are supported. (32-bit versions are not supported.) Windows agent push is NOT supported for Azure virtual machines. NOTE A known Microsoft issue may prevent successful agent push install on Windows 7 and Windows 2008 R2 systems. To resolve this issue, see the following Microsoft knowledge base article: The "Untrusted publisher" dialog box appears when you install a driver in Windows 7 or Windows Server 2008 R2. |
|
Credentials |
Trust credentials must be defined for the Windows server asset on the backup appliance. See Managing asset credentials for details. |
|
Windows environment |
The Windows machine must be configured as described in Windows configuration requirements for push installation. |
The following Windows configuration settings are required for the agent push feature:
NOTE For troubleshooting steps, see Troubleshooting Agent Push.
● Workstation and Server services must be running and set to automatic restart.
● The Windows asset must be able to access the appliance's Samba share:
● SMB 2.0 – The SMB 2.0 security option is enabled by default on Unitrends appliances that were originally imaged or deployed with version 10.4.8 or higher. SMB 2.0 must be enabled on the Windows asset.
● SMB 1.0 – The SMB 1.0 security option is enabled by default on appliances that were originally imaged or deployed with a pre-10.4.8 version. SMB 1.0 must be enabled on the Windows asset.
NOTE Upgrading from a pre-10.4.8 version does not change the SMB 1.0 setting. (To configure your appliance to use SMB 2.0, see How Unitrends supports SMBv2.)
● For Windows 7 and later, Network discovery and Printer and File Sharing must be enabled for the current network profile (in Control Panel > Network and Sharing Center).
● Trust credentials entered in the Add Asset dialog in the Unitrends UI must have administrative privileges. On systems with user account controls (UAC) enabled, at least one of the following must also apply:
● The trust credentials entered are for a domain administrator account.
● The trust credentials entered are for a system local administrator account. Being a different member of the Administrators group is insufficient, it must be the built-in account to bypass UAC. If the administrator account is disabled, enable it by executing the following in an elevated command prompt:
net user administrator /active:yes
● The Registry key LocalAccountTokenFilterPolicy exists and is set to 1 (to use a local administrator that is not the 'Administrator' account).
● Verify Remote IPC and Remote Admin shares are enabled. These shares should be enabled with File and Printer Sharing, but verifying is a good idea if you’re still having trouble. To verify, issue the following command from an elevated command prompt and check the output for ADMIN$ and IPC$: net share
● Firewall rules must allow inbound and outbound traffic between both machines. Default Windows firewall rules limit many services to the subnet. If the backup appliance is outside the Windows asset's subnet, modify firewall Printer and File Sharing settings (TCP ports 139 and 445) to allow communication between the systems.
Add the asset as described in To add an agent-based asset. The following are installed automatically (assuming all Windows agent requirements have been met):
● The Windows agent.
● For Hyper-V servers or Windows servers with the Hyper-V role enabled, the Hyper-V CBT driver is installed. This driver is used for faster Hyper-V incremental backups. (You do not need to reboot to enable this driver.)
● For Microsoft SQL and Exchange servers, SQL and Exchange components are installed. You can then run application backups to protect these databases. For more information, see Exchange backup requirements and considerations and SQL backup requirements and considerations.
● For Windows assets that are eligible for image-level backups, the Windows Volume CBT driver is installed or updated if an update is available. This driver is used to enable incremental image-level backups. To enable this driver, you must reboot the Windows asset after installing the Volume CBT driver for the first time or after updating from a pre-10.3.3 agent version. (The last driver update was in agent version 10.3.3. If you are updating agent version 10.3.4 or later, a reboot is not required.)
NOTE If you see this error, the Windows asset is paired to an appliance running an older version than the agent you're trying to install: Appliance version validation failed. Please verify all paired appliance versions meet or exceed the agent. Update the appliance to enable the push-install.
Use the procedures in this section to install the agent manually.
To run these procedures, you will download the applicable agent MSI file from the Unitrends Downloads page (https://helpdesk.kaseya.com/hc/en-gb/articles/4407526882193-Unitrends-Downloads) to the Windows machine.
You can then install the agent by launching the installer or from the command line. In most cases, you will use the installer. You will need to use the command line procedure to install on a Windows 2008 server that was deployed with the server core option, or to install to multiple Windows machines by using Windows Group Policy. See the following topics for details:
The agent installer loads the applicable components in Unitrends_Agentx86.msi or Unitrends_Agentx64.msi onto the Windows asset during installation.
The following are included with the Windows agent (Unitrends_Agentx86.msi or Unitrends_Agentx64.msi):
● For Hyper-V servers or Windows servers with the Hyper-V role enabled, the Hyper-V CBT driver is installed. This driver is used for faster Hyper-V incremental backups. (You do not need to reboot to enable this driver.)
● For Microsoft SQL and Exchange servers, SQL and Exchange components are installed. You can then run application backups to protect these databases. For more information, see Exchange backup requirements and considerations and SQL backup requirements and considerations.
● (Optional) For Windows assets that are eligible for image-level backups, the installer provides the option to install the Windows Volume CBT driver. This driver is used to enable incremental image-level backups. To enable this driver, you must reboot the Windows asset after installing the Volume CBT driver for the first time or after updating from a pre-10.3.3 agent version. (The last driver update was in agent version 10.3.3. If you are updating agent version 10.3.4 or later, a reboot is not required.)
Consider the following before installing the Windows agent:
● For Microsoft Vista assets, administrator privileges are required to install the agent. You must log in as a user that has administrator privileges on the Vista server to install the agent. Members of the Administrator group that have not been assigned administrator privileges are not able to install the agent.
● For Windows Server assets, the agent performs backup and recovery of the system state, including support for ISS, COM+, Cluster Database, and Active Directory. The agent must be installed on the Windows server while logged in using the local system Administrator account. If the local system Administrator account cannot be used for the installation, the Windows User Account Control facility must be disabled. Once the agent has been installed, User Account Control can be re-enabled.
1. Log in to the Windows asset as a user that has full access to all files and folders on the system (e.g., local administrator).
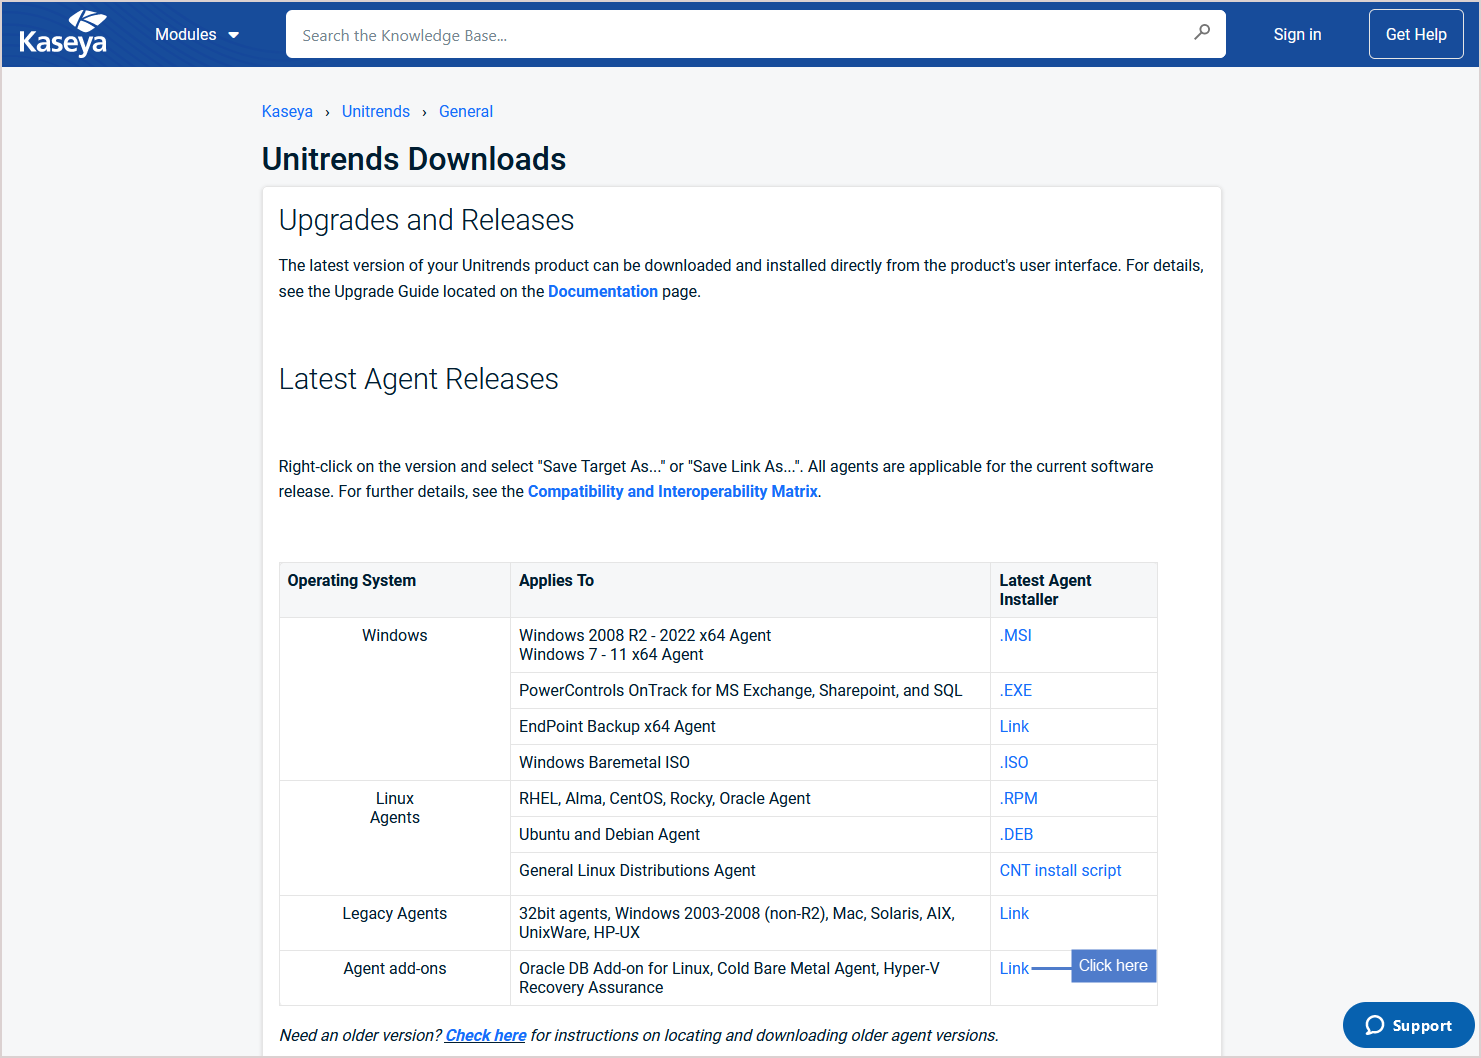
2. Download the agent MSI file from https://helpdesk.kaseya.com/hc/en-gb/articles/4407526882193-Unitrends-Downloads.
● For the 64-bit agent, click the MSI link in the Windows row.
● For the 32-bit agent, click the Link in the Legacy Agents row. On the Legacy Agents page, click the Link in the 32-bit Agents row. On the 32-bit Agents page, click the MSI link in the Microsoft Windows row.

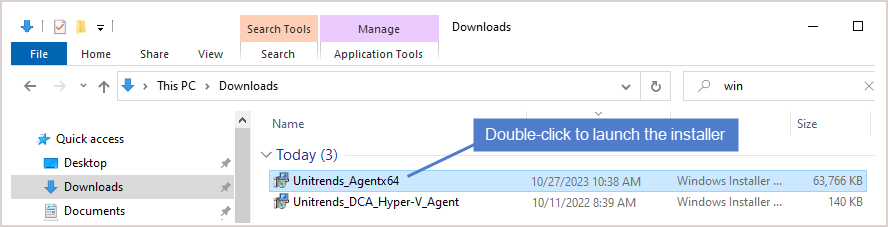
3. Double-click the MSI file to launch the installer.
MSI file names:
● Unitrends_Agentx64.msi - agent for 64-bit Windows assets
● Unitrends_Agentx86.msi - agent for 32-bit Windows assets
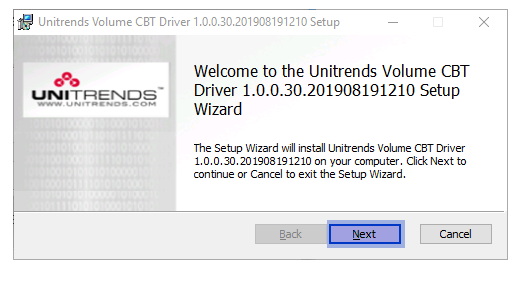
4. Click Next to proceed.

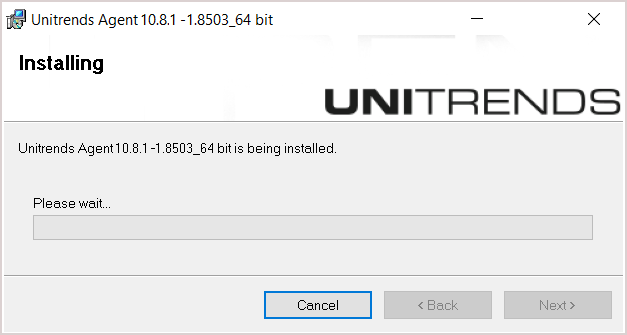
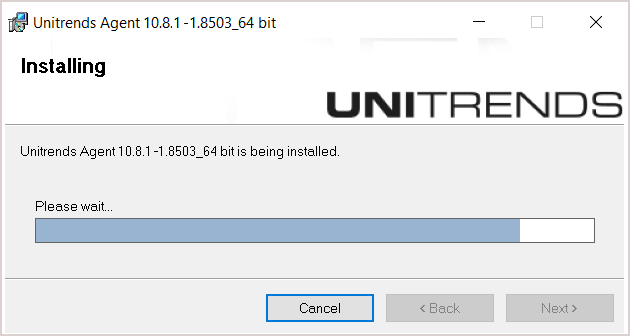
5. Click Next to begin the installation process. The installation can be interrupted at any time by clicking Cancel.
NOTE If you receive the message The currently installing agent version is newer than the appliance version, click Yes to proceed with the installation or click No to exit. If you proceed with the installation, be sure to upgrade the older appliance as soon as possible. Running an appliance version older than the agent is not supported and can cause undesirable results.

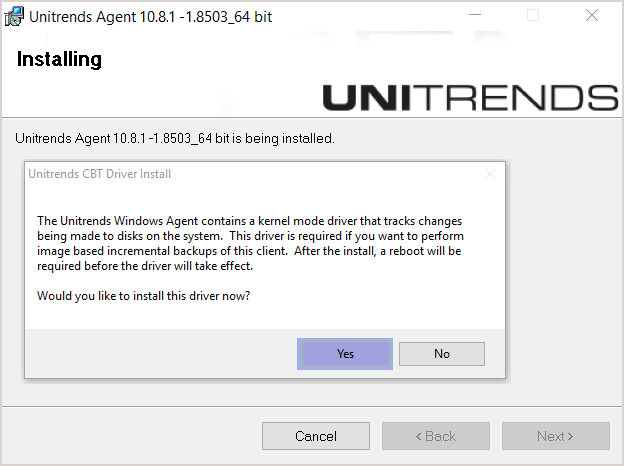
6. (Recommended) Click Yes to include the Windows Volume CBT driver. (This driver enables the option to run incremental image-level backups. You can run file-level backups and full image-level backups without installing this driver.)
NOTE If the latest Windows Volume CBT driver is already installed, the Unitrends CBT Driver Install window does not display.
NOTE The agent is installed to the \PCBP directory on the Windows system drive, usually volume C: (e.g., C:\PCBP\).
7. After the agent is installed, do one of the following:
● If you did not opt to install the Volume CBT driver, installation is complete. Click Done to exit the installer.
OR
● If you opted to install the Volume CBT driver, click Next and continue with the next step in this procedure.
NOTES
● If this Volume CBT driver version has already been installed, the Unitrends Volume CBT Filter Driver Setup installer does not display. Windows agent installation is complete. If needed, reboot the Windows asset to enable the existing Volume CBT driver.
● If an older Volume CBT driver version has already been installed, you are given the option to install this driver version and advised as to whether the new driver is required for subsequent incrementals.
● If a newer Volume CBT driver version has already been installed, you are given the option to install this older driver version.
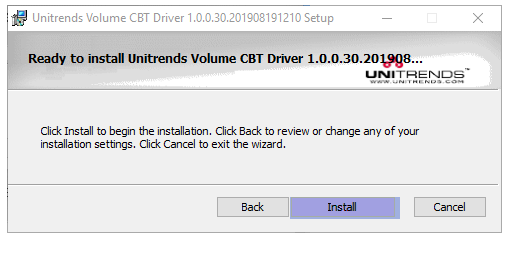
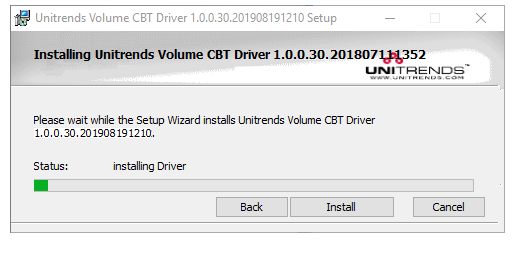
8. Click Install to begin the installation process (or click Back to review or modify data). The installation can be interrupted at any time by clicking Cancel.
9. Click Finish to exit the installer.
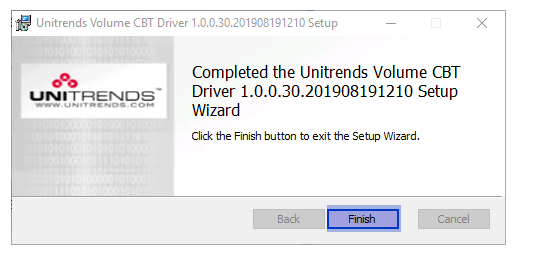
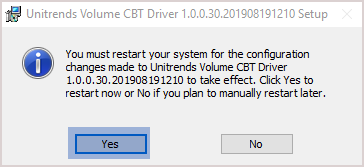
10. (If needed) If installing the driver for the first time or updating from a pre-10.3.3 agent release, you must reboot the Windows asset to enable the Volume CBT driver. Click Yes to reboot now or No to reboot at a later time.
NOTES
● If the Volume CBT driver has not been installed or has not been enabled, image-level incrementals are not supported. Any scheduled incremental is automatically promoted to a full backup. If you attempt to run an on-demand incremental, you receive a message indicating that only full backups are supported.
● An image-level incremental is automatically promoted to a full backup in these other cases:
● There is a problem detected with the Volume CBT driver.
● A newer Volume CBT driver version is installed but has not been enabled. To run incremental backups, enable the new driver by rebooting the Windows asset.
● The version of the Volume CBT driver that was included with the Windows agent is greater than the version that is enabled on the Windows asset. To run incremental backups, you must install the new driver and then reboot the Windows asset (see the next bullet for details).
● The installer for the associated Volume CBT driver is placed in C:\PCBP\Installers. You can install this driver at any time by running the installer, called uvcbt.msi. After installing the driver, you must enable it by rebooting the Windows asset.
● The Windows agent and the Windows Volume CBT driver are installed as separate, independent packages. Uninstalling the Windows agent does not uninstall the Windows Volume CBT driver. (To uninstall the Windows Volume CBT driver, use the Windows Control Panel Add/Remove Programs feature to remove uvcbt.msi.)
The bare metal agent is needed only for image-based bare metal protection. For most assets, you can use the newer unified bare metal protection feature, which does not require the bare metal agent. (For details, see Windows Bare Metal Protection and Recovery.)
NOTE To install Unitrends_BareMetal.msi on assets that are running User Account Control (UAC), special installation is required. Use the Installing the bare metal agent on a Windows asset running User Account Control procedure instead. UAC is enabled by default on Windows Vista, Windows Server 2008, and Windows Server 2012.
1. Log in to the Windows asset as a user that has full access to all files and folders on the system (e.g., local administrator).
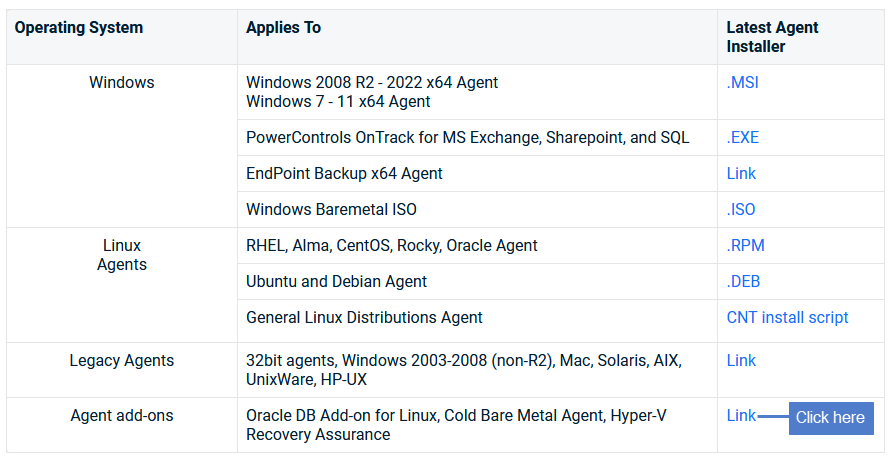
2. Download the agent MSI file from https://helpdesk.kaseya.com/hc/en-gb/articles/4407526882193-Unitrends-Downloads:
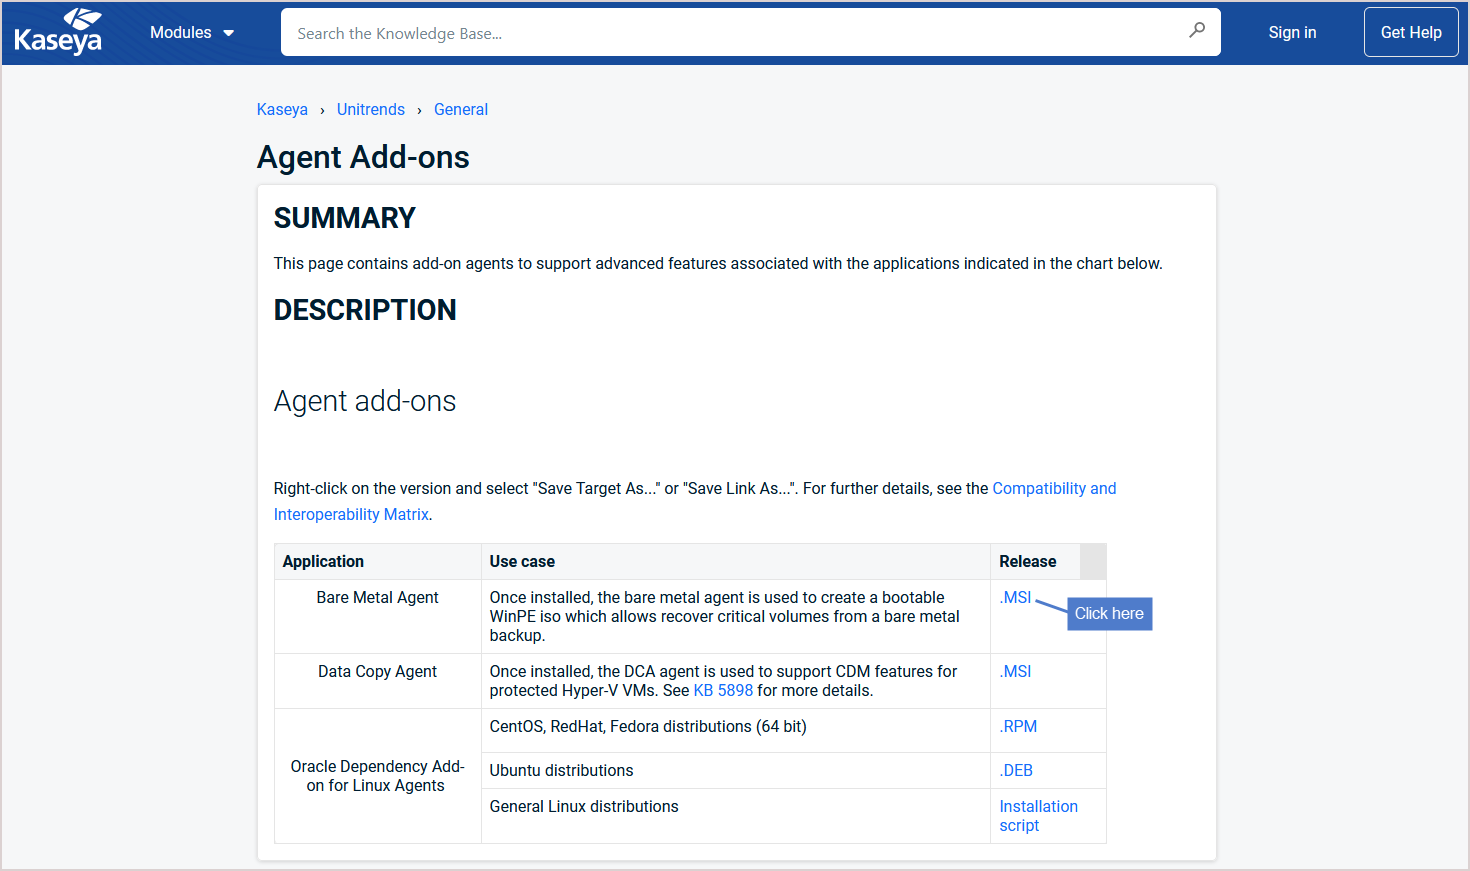
● Click the Agent Add-ons Link.
● On the Agent Add-ons page, click the Bare Metal Agent MSI.
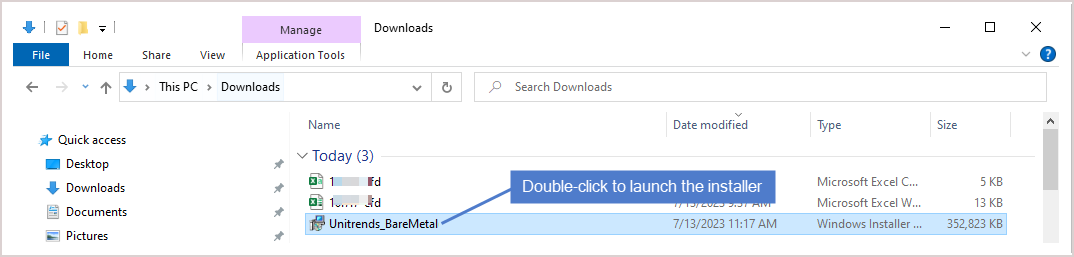
3. Double-click the Unitrends_BareMetal.msi file to launch the installer.
4. Click Next to proceed.

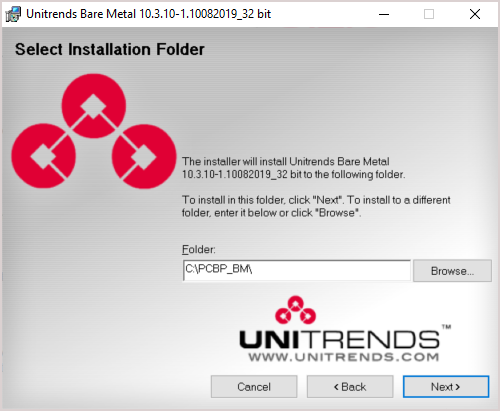
5. Click Next to install to the default location.
Installing to the default C:\PCBP_BM\ directory is strongly recommended. To install in another location (folder or volume), click Browse or manually enter the directory path.
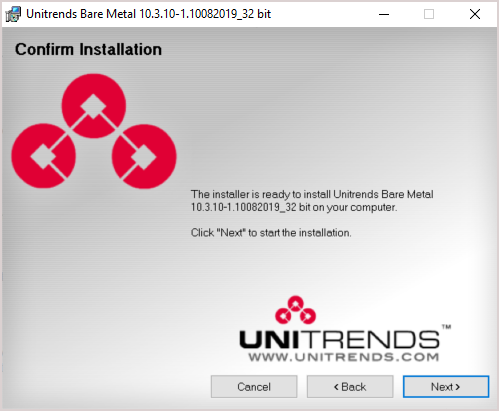
6. Click Next to begin the installation process. The installation can be interrupted at any time by clicking Cancel.
7. When installation is complete, click Close to exit the installer.
User Account Control (UAC) is enabled by default on Windows Vista, Windows Server 2008, and Windows Server 2012. To install Unitrends_BareMetal.msi on assets where UAC is enabled, you must invoke the installation with elevated privileges. See these topics for details:
You must log in to the server as a user that has been assigned administrator privileges on the Vista server. Members of the Administrator group who have not been assigned administrator privileges on this Vista server cannot install the bare metal agent.
Do one of the following to install on Windows Server 2012/2008:
● Log in using the local system Administrator account.
● Disable User Account Control (UAC) before you install the bare metal agent. (After you have installed the agent you can re-enable UAC.).
1. Download Unitrends_BareMetal.msi and save it to the Windows machine. To download the file:
● Go to https://helpdesk.kaseya.com/hc/en-gb/articles/4407526882193-Unitrends-Downloads.
● On the Unitrends Downloads page, click the Agent add-ons Link.
● On the Agent Add-ons page, click the Bare Metal Agent MSI.
2. Log in to the Windows machine and select Start > All Programs > Accessories.
3. Right click Command Prompt and select Run as administrator.
4. Select Yes in the UAC window to continue.
5. Issue this command to install the agent, where FullInstallPath is the full path of the location where you saved Unitrends_BareMetal.msi:
Msiexec /package C:\FullInstallPath\Unitrends_BareMetal.msi
For directories with spaces in the name, add quotes to the command. For example, to download Unitrends_BareMetal.msi to C:\Program Files, use this command:
Msiexec /package "C:\Program Files\Unitrends_BareMetal.msi"
6. Exit the Command Prompt window and restart the server to apply the changes.
7. For Windows Server 2012/2008 only — After you have installed the agent, locate the Unitrends Agent entry on the Windows Start menu, right click on the Unitrends Agent Menu, and select Run as administrator. (This is required following the initial installation only.)
8. Additional configuration is required for bare metal protection of Vista and Windows Server 2012/2008 assets. Contact support for assistance (see Support for Unitrends appliances).
With the command-line installer, you can install, remove, and repair the Windows agent. This method installs the following:
● The Windows agent.
● The Windows Volume CBT driver (used to enable incremental image-level backups). To enable the Volume CBT driver, you must reboot the Windows server after the agent has been installed.
● For Hyper-V servers or Windows servers with the Hyper-V role enabled, the Hyper-V CBT driver is installed. This driver is used for faster Hyper-V incremental backups. (You do not need to reboot to enable this driver.)
● For Microsoft SQL and Exchange servers, SQL and Exchange components are installed. You can then run application backups to protect these databases. For more information, see Exchange backup requirements and considerations and SQL backup requirements and considerations.
The agent installer utilizes the msiexec command to manage the Windows agent from the command line. However, not all of the msiexec default parameters are supported with the installer. The following msiexec parameters are available:
/i - Installs and updates the software.
/f - Repairs the software.
/uninstall - Removes the software.
/quiet - Installs software in quiet mode with no user interaction.
/l* - Enables logging.
FORCE_BOOT - If set to True, restarts the Windows machine after installing the agent. If set to False, does not restart after installing the agent.
The following table describes the optional command-line parameters. These parameters are case sensitive and must be entered in upper case on the command line. The values specified for the parameter are not case sensitive. These options can also be used in conjunction with Microsoft’s Group Policy methodology to deploy mass agent installations.
|
Parameter name |
Parameter value |
Default value |
|---|---|---|
|
CheckVersion |
Yes | No |
Yes Yes enforces appliance/agent version compatibility. If the appliance version is older than the agent, an error is raised and the agent is not installed. |
|
USNAPS |
True | False |
False |
|
BARE_METAL |
True | False |
True |
|
REMOTE_ADMIN |
True | False |
True |
|
ODM |
True | False |
True |
|
SQL_AGENT |
True | False |
True if SQL Server is installed on the asset, otherwise False. |
|
EXCHANGE_AGENT |
True | False |
True if Microsoft Exchange server is installed on the asset, otherwise False. |
|
IP |
|
127.0.0.1 |
|
FIREWALL |
True | False |
False |
Following are Windows agent installer command-line examples:
NOTE You must install the agent to the \PCBP directory under the Windows system drive, usually C:.
● Example 1 — Install Unitrends_Agentx64.msi with default values, where C: is the Windows system drive:
msiexec /i "C:\PCBP\Unitrends_Agentx64.msi"
● Example 2 — Install Unitrends_Agentx64.msi in quiet mode with override version checking (agent is installed without checking appliance version), where C: is the Windows system drive:
msiexec /quiet CHECKVERSION=No /i "C:\PCBP\Unitrends_Agentx64.msi"
● Example 3 — Install Unitrends_Agentx64.msi with default values and turn on logging, where C: is the Windows system drive and C:\temp\Unitrends.log is the path of the log file named Unitrends.log:
msiexec /quiet /l* "C:\temp\Unitrends.log" /i "C:\PCBP\Unitrends_Agentx64.msi"
● Example 4 — Uninstall Unitrends_Agentx64.msi, where C: is the Windows system drive:
msiexec /quiet /uninstall "C:\PCBP\Unitrends_Agentx64.msi"
With the command-line installer and optional parameters (described in Command-line installer for Windows agents above), you can use Microsoft Group Policy to deploy mass agent installations. See the Microsoft Group Policy documentation for details on downloading and using the Group Policy software.
1. An Active Directory domain is needed. Begin by creating a new Group Policy Object (see Microsoft documentation for details).
2. When the object has been created, select and edit it. If using the Group Policy Management Console, this action invokes the Group Policy Object Editor.
3. Determine whether the Group Policy Object will be a computer configuration or a user configuration. Depending on the configuration selected, expand the Software Settings folder and select the Software Installation option.
4. Right-click Software Installation, point to New, and then click Package.
5. In the Open dialog box, type the full Universal Naming Convention (UNC) path of the shared installer package. For example:
\\fileserver\share\fileName.msi
IMPORTANT Do not use the Browse button to access the location. Make sure to type in the UNC path to the shared installer package.
6. Click Open.
7. Click Assigned, and then click OK. The package is listed in the right pane of the Group Policy window.
8. Close the Group Policy snap-in, click OK, and then quit the Active Directory Users and Computers snap-in.
9. Link the Group Policy Object to the domain by dragging the object to the domain name.
10. Double click the Group Policy Object name to add computers or users to the object.
● If the computer configuration was selected, the agent will be installed on the specified computers when the computers are restarted.
● If the user configuration was selected, the agent will be installed on any computer in the domain where the specified users log in to the domain.
● Once installed, an entry for the application displays in the Add/Remove Programs interface of the Microsoft Windows operating system.
11. For assets running Windows Vista and earlier operating systems, reboot the asset. (A reboot is not required for newer operating systems.)


